How to Take Quick High Quality Photos of Yourself for Instagram (Using your iPhone)

Note: This post includes affiliate links. At no additional cost to you, I will earn a small commission if you purchase through the link. Please read my full disclosure statement here.
This isn’t about how my Instagram feed looks.
All I want is to get fast pictures that don’t look like I took them in the dark scary part of my basement.
And to connect with living breathing people on Instagram.
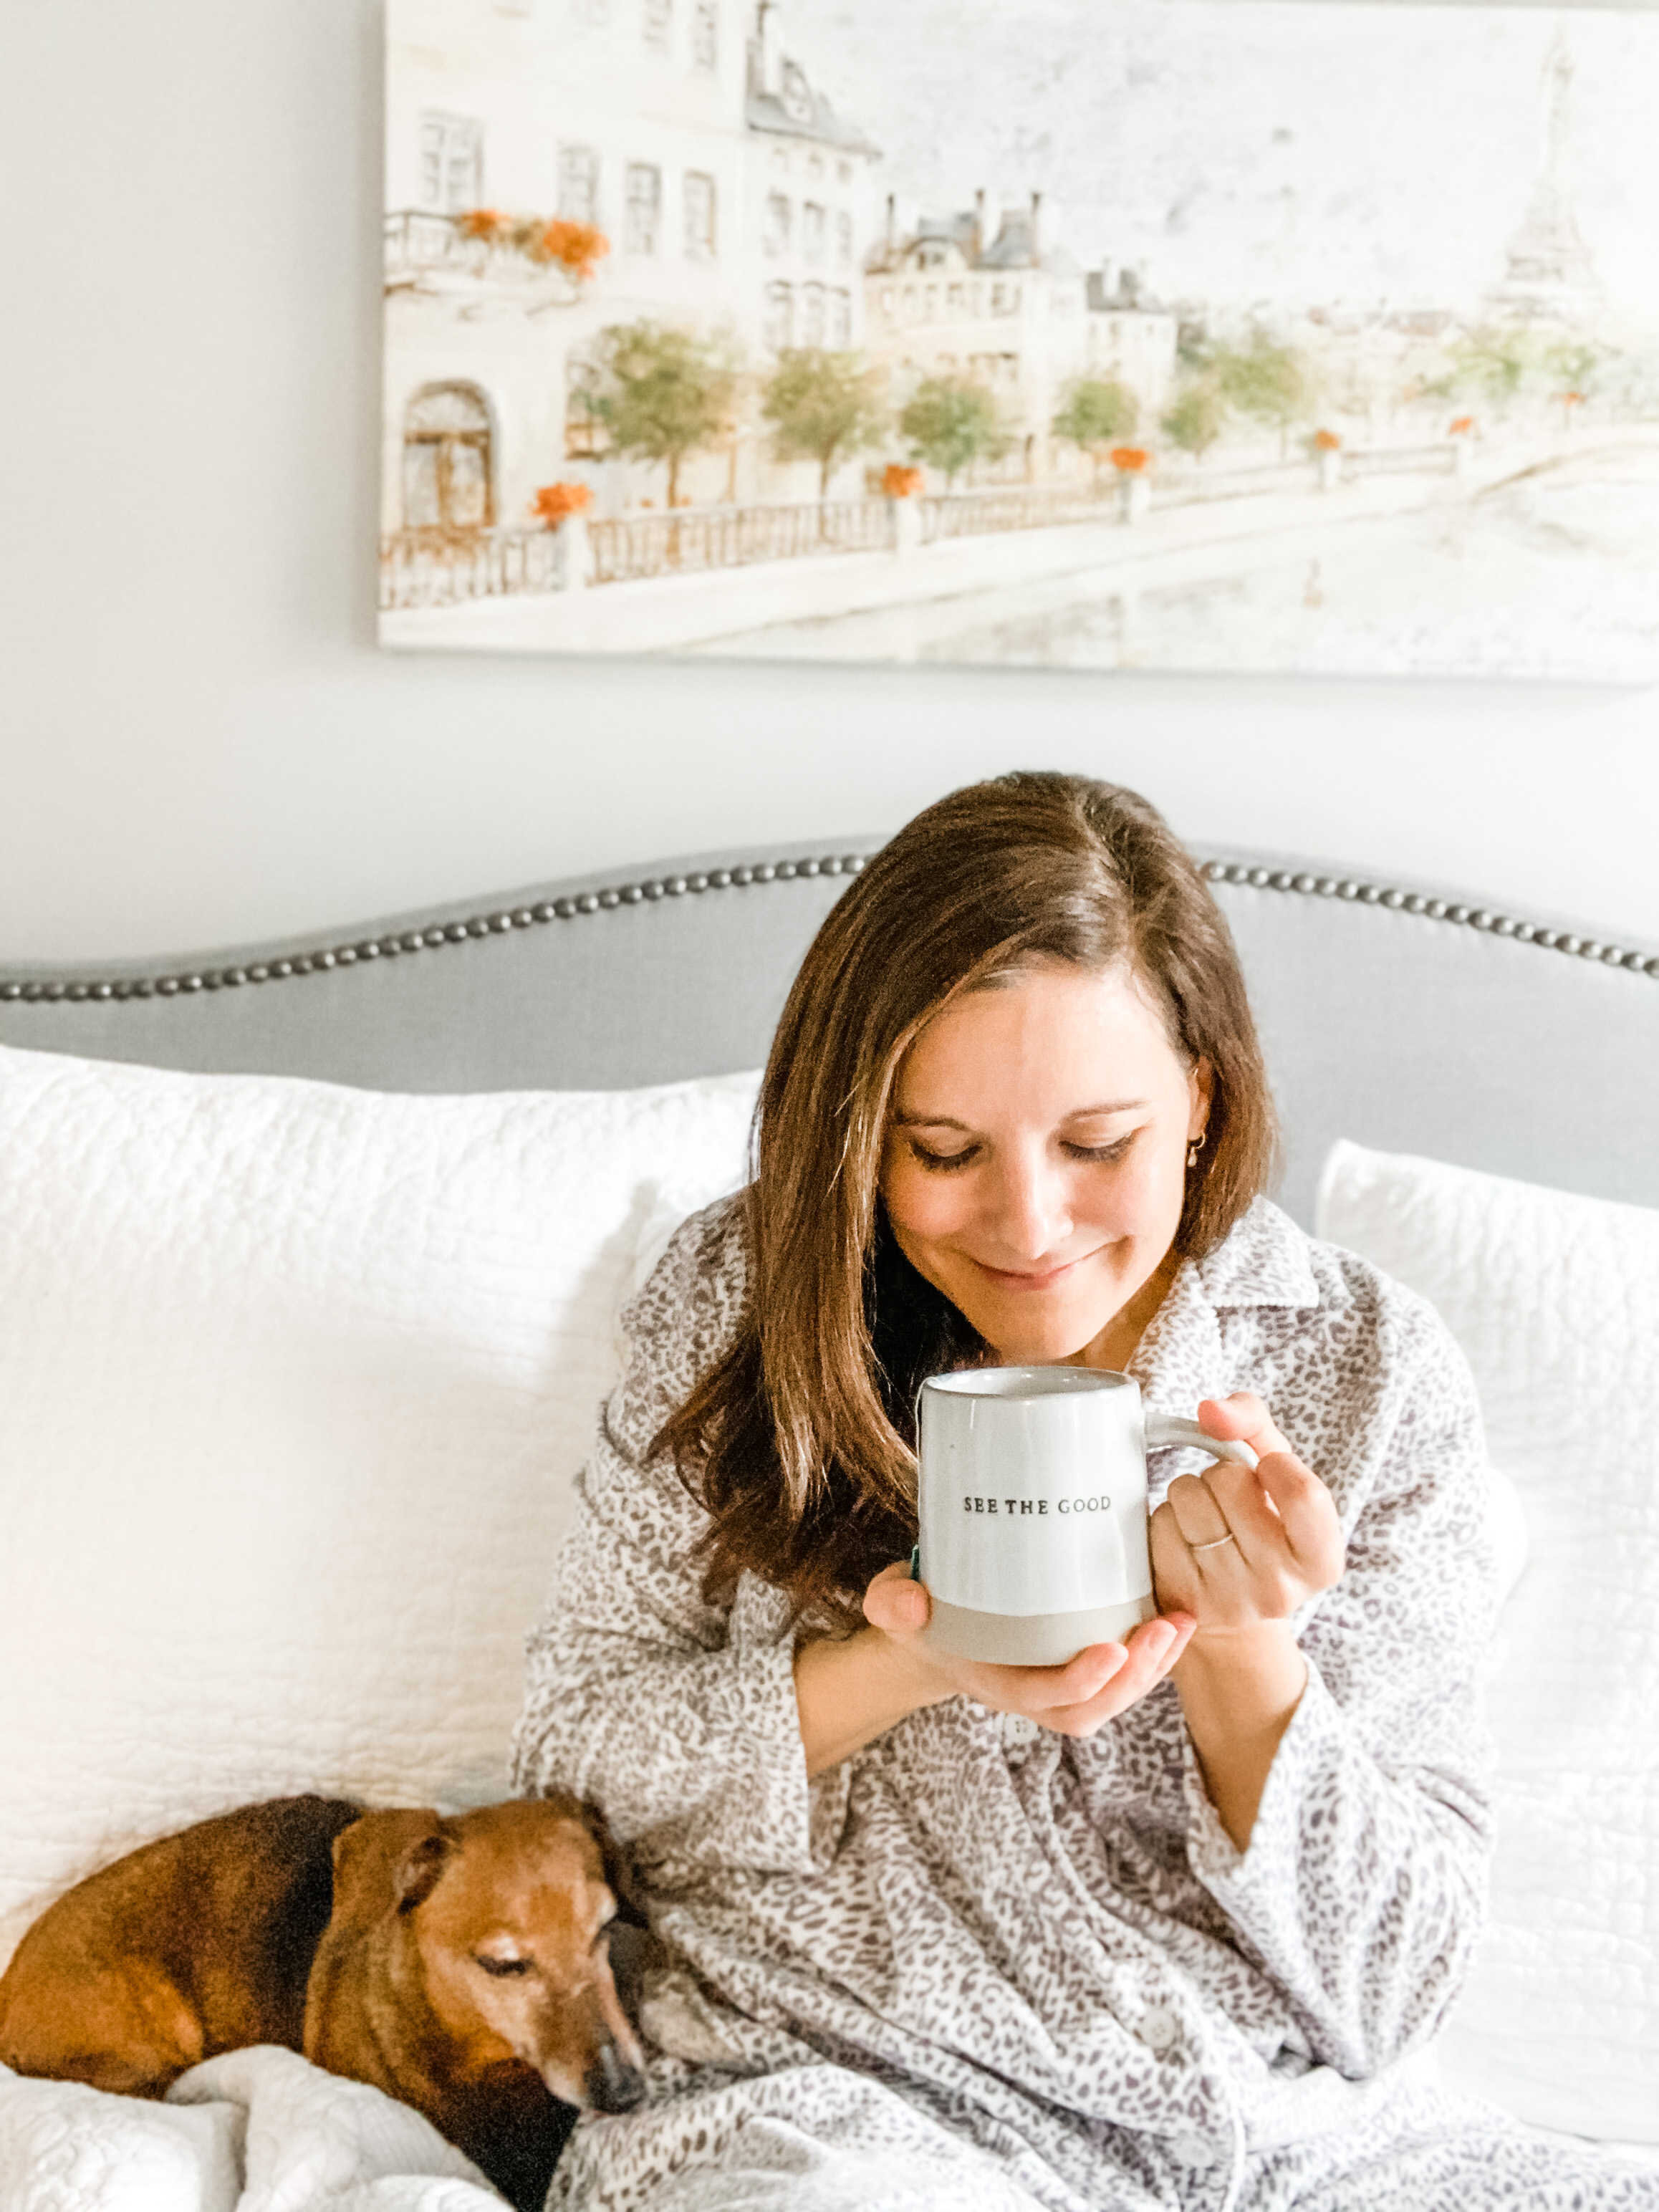
More than any other kind of post, a face picture says the light’s on and someone is home.
Building a personal connection is essential since I write about how to find happiness as a highly sensitive person (HSP). HSPs spend a lot of time trying to hide our sensitivity, so putting my face out there lets me stand in my highly sensitive power and gives others permission to do the same.
So is it too much to ask for a decent DIY picture of me?
One that doesn’t take all day to get. Where there’s no waiting for the best lighting. No box of equipment to set up. And where I can take the picture myself without bothering my husband.
Determined to make it happen, I bought all the things. I got massive standing lights from Amazon. A Canon DSLR camera. A tripod. And started learning about aperture settings.
I’ve always been the last person to upgrade my cell phone. So when I went from a 5S to an XR, I was impressed by how much better the camera was.
Taking pictures used to take me 6 hours every weekend. With the iPhone XR I get it done in an hour with multiple scenes and picture setups.
Using an inexpensive (less than $30) cell phone tripod with Bluetooth remote control from Amazon lets me take almost every picture by myself.
Here’s exactly how I do it.
The camera: iPhone XR on portrait mode.

Portrait setting lets you take pictures and keep the subject sharp while blurring the background. It’s available on iPhone 7Plus and later.

You can manually increase or decrease the depth of field after you take the picture with the built in edit function.
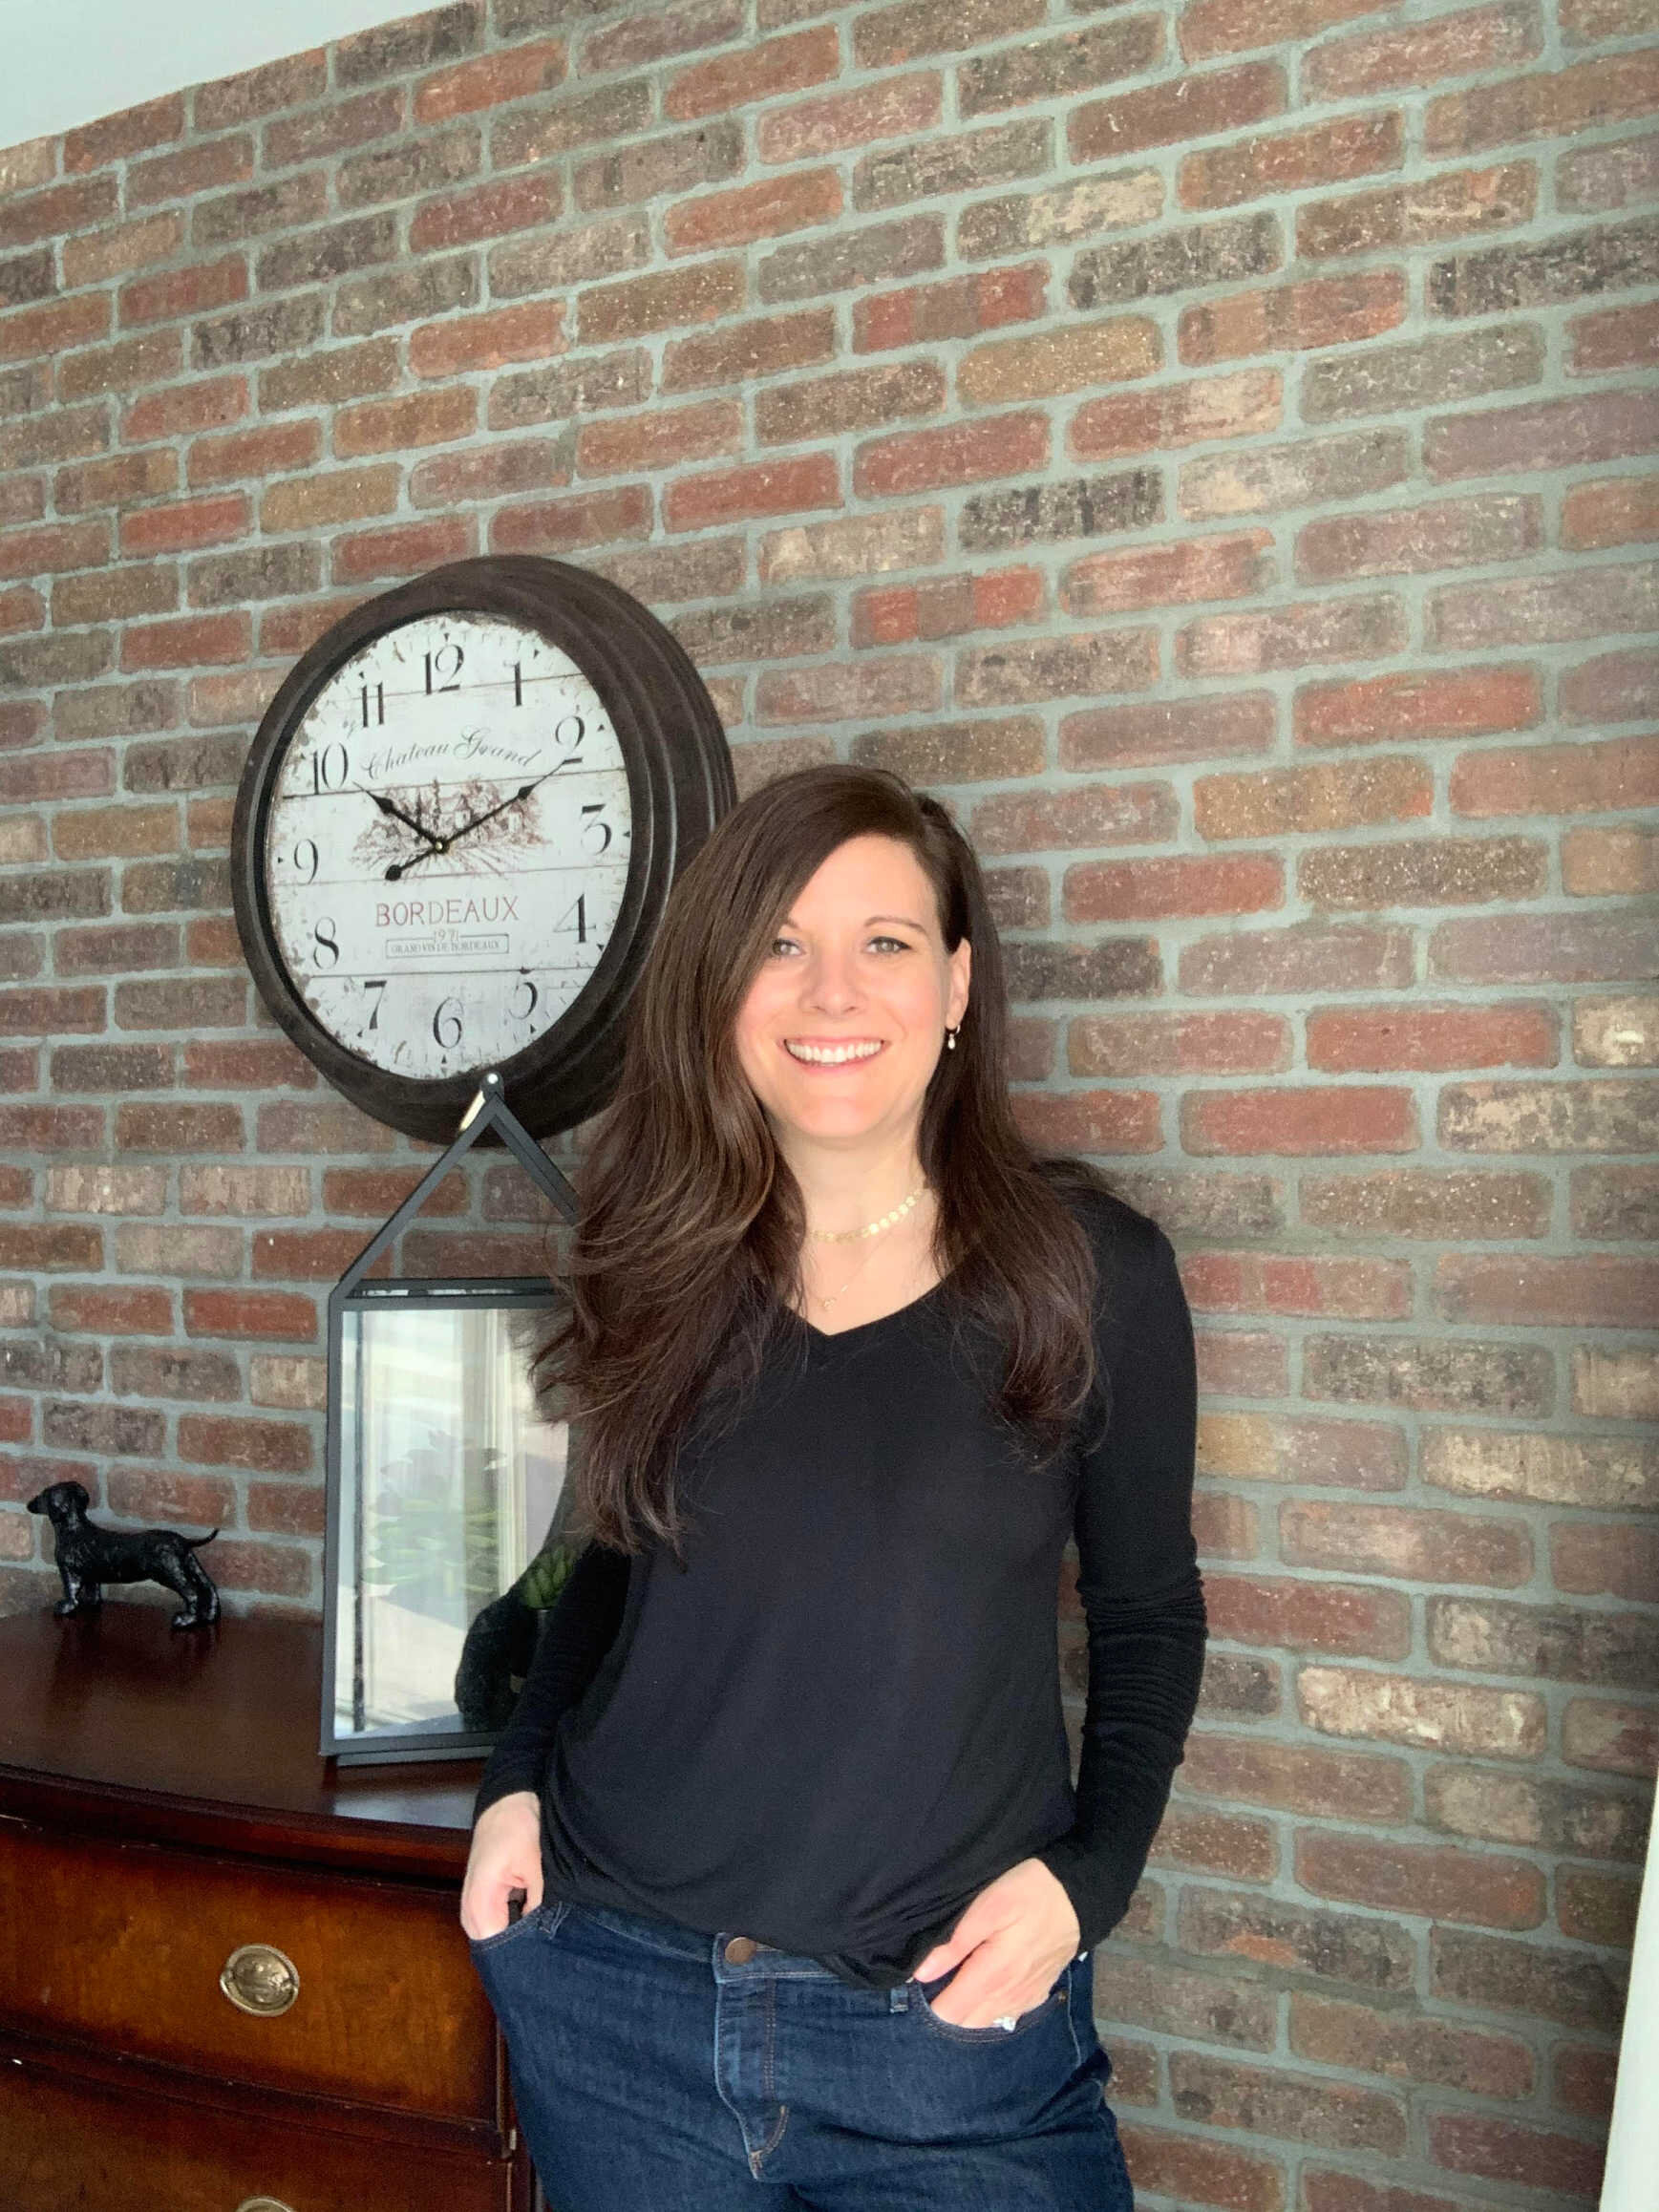
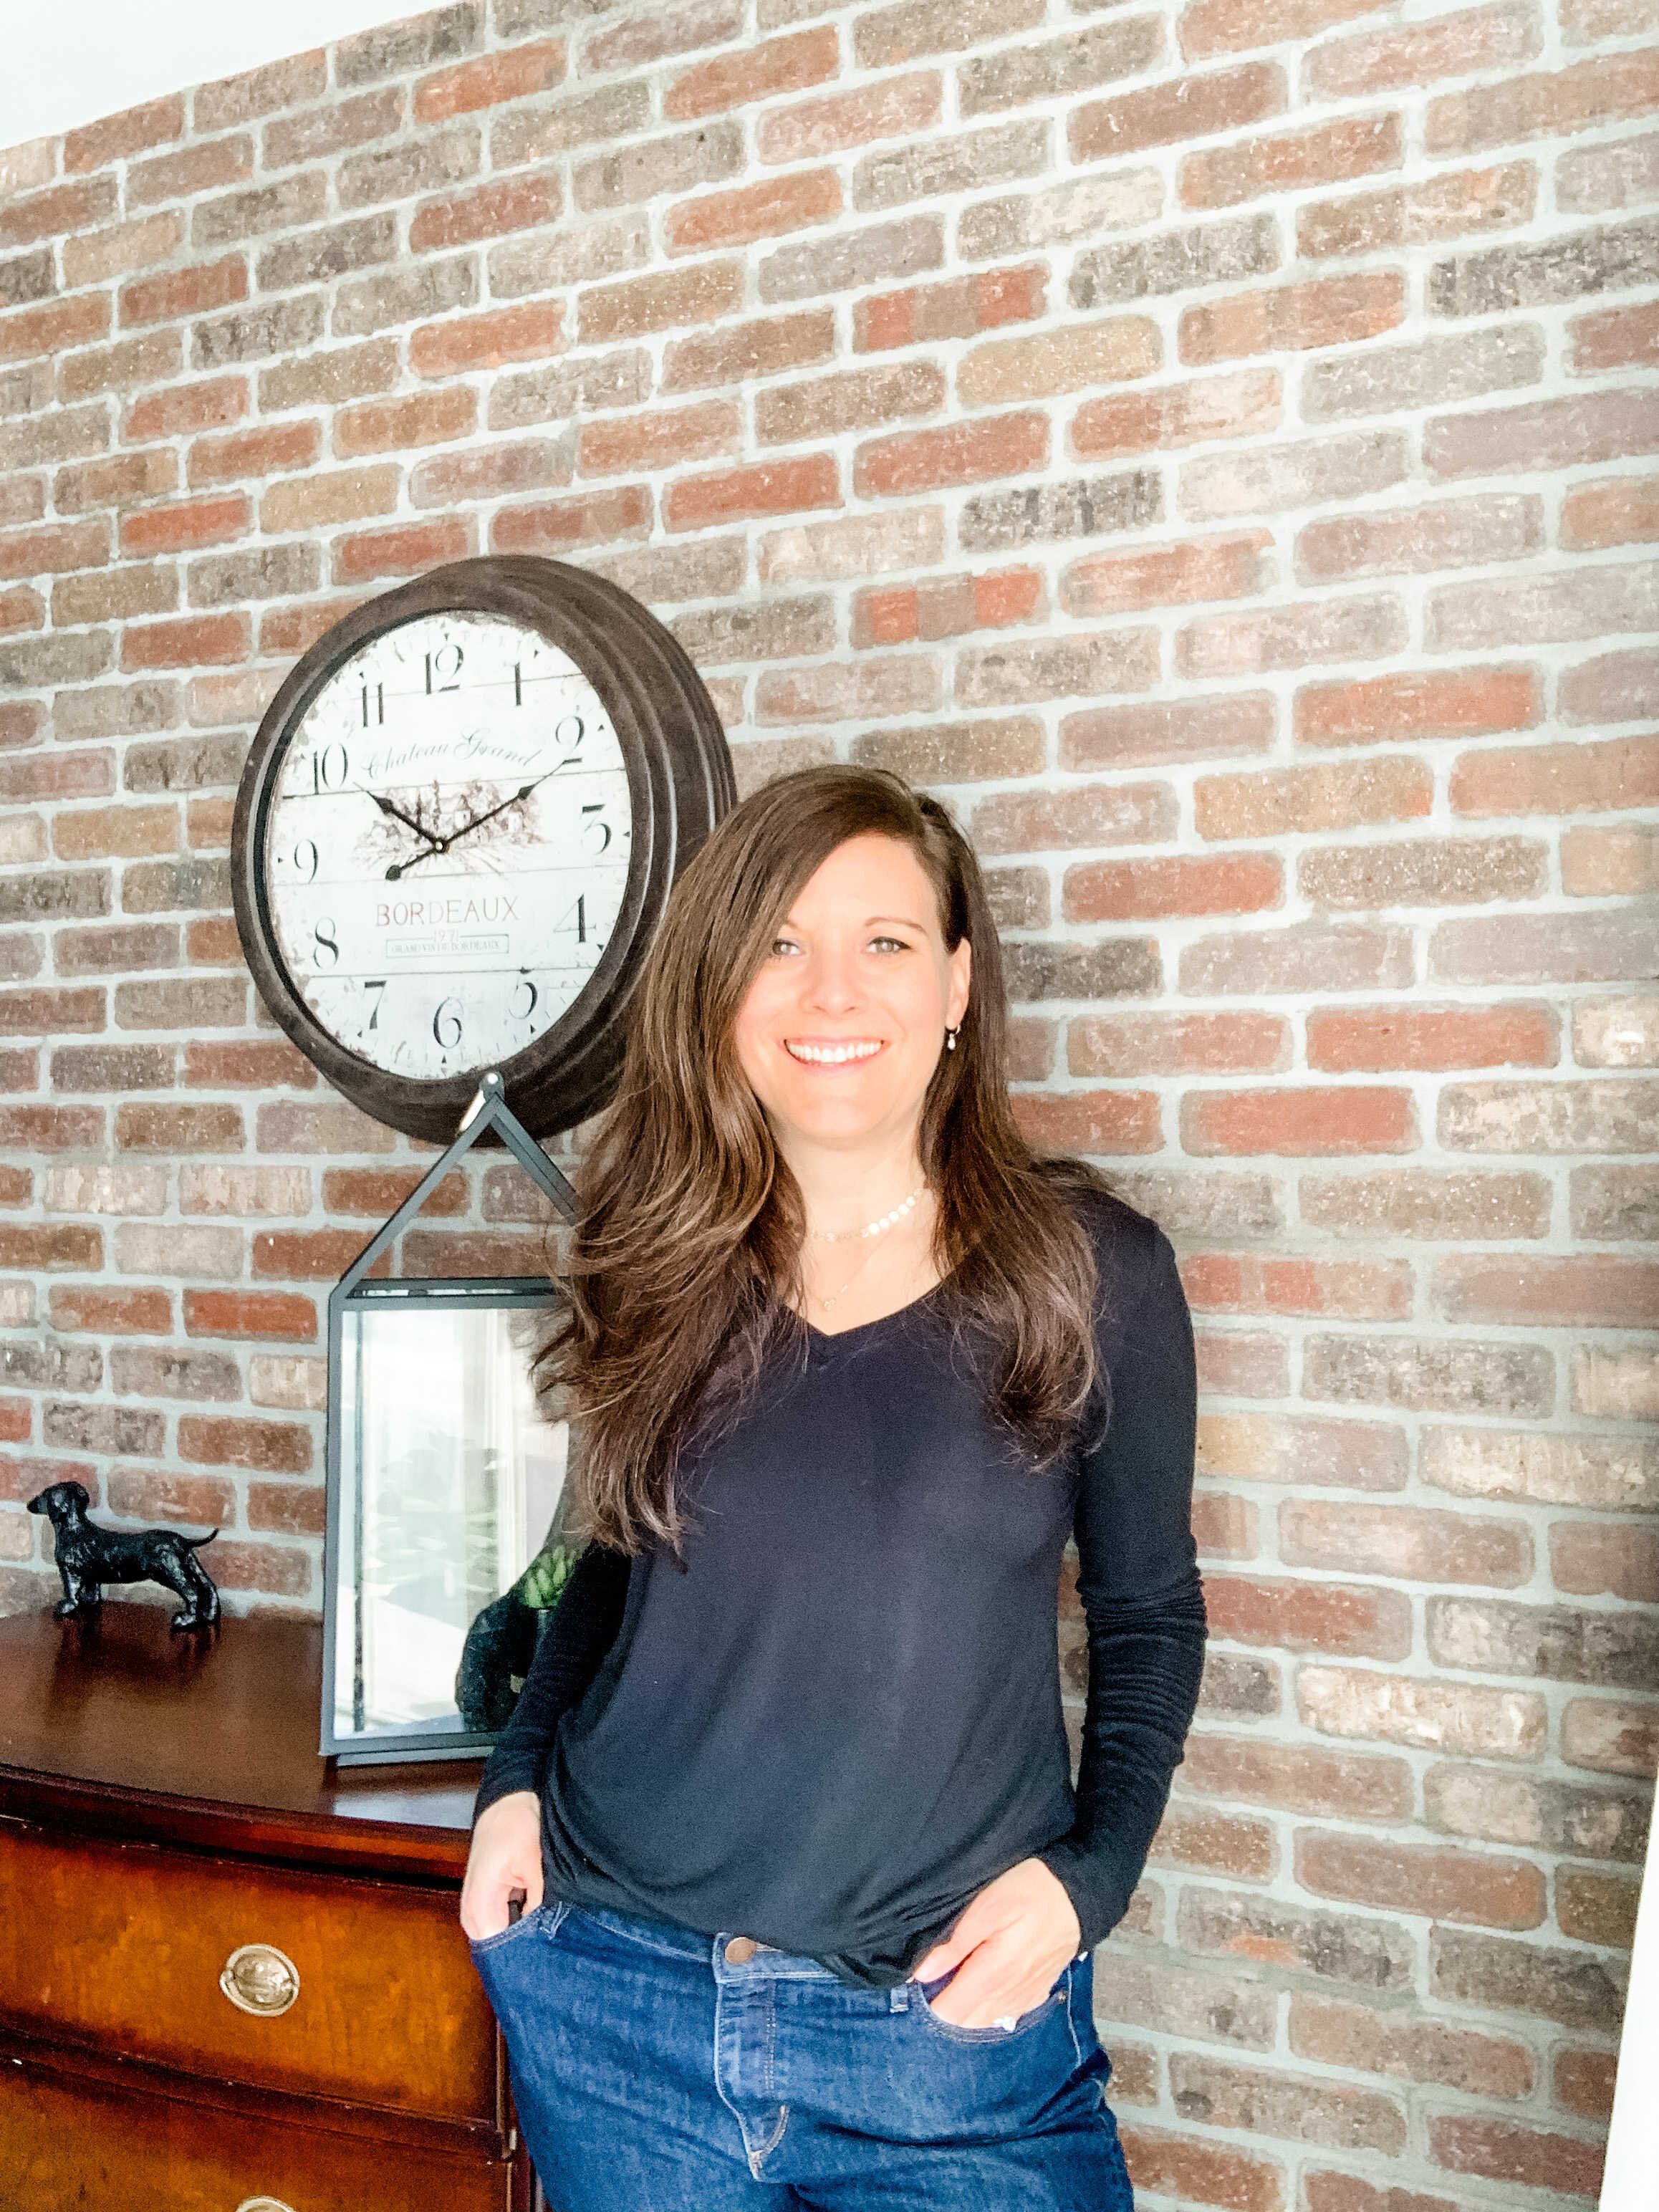
The pictures on the left and in the middle are taken with portrait setting with low and high depth of field applied after. The depth of field adds a more professional look and is only available in portrait mode. The one on the right was taken with the regular photo setting. You can still get a decent picture.


You must be within the right range of the camera (a few feet) for portrait to work. It will tell you to move closer or move farther away so you’re correctly positioned.
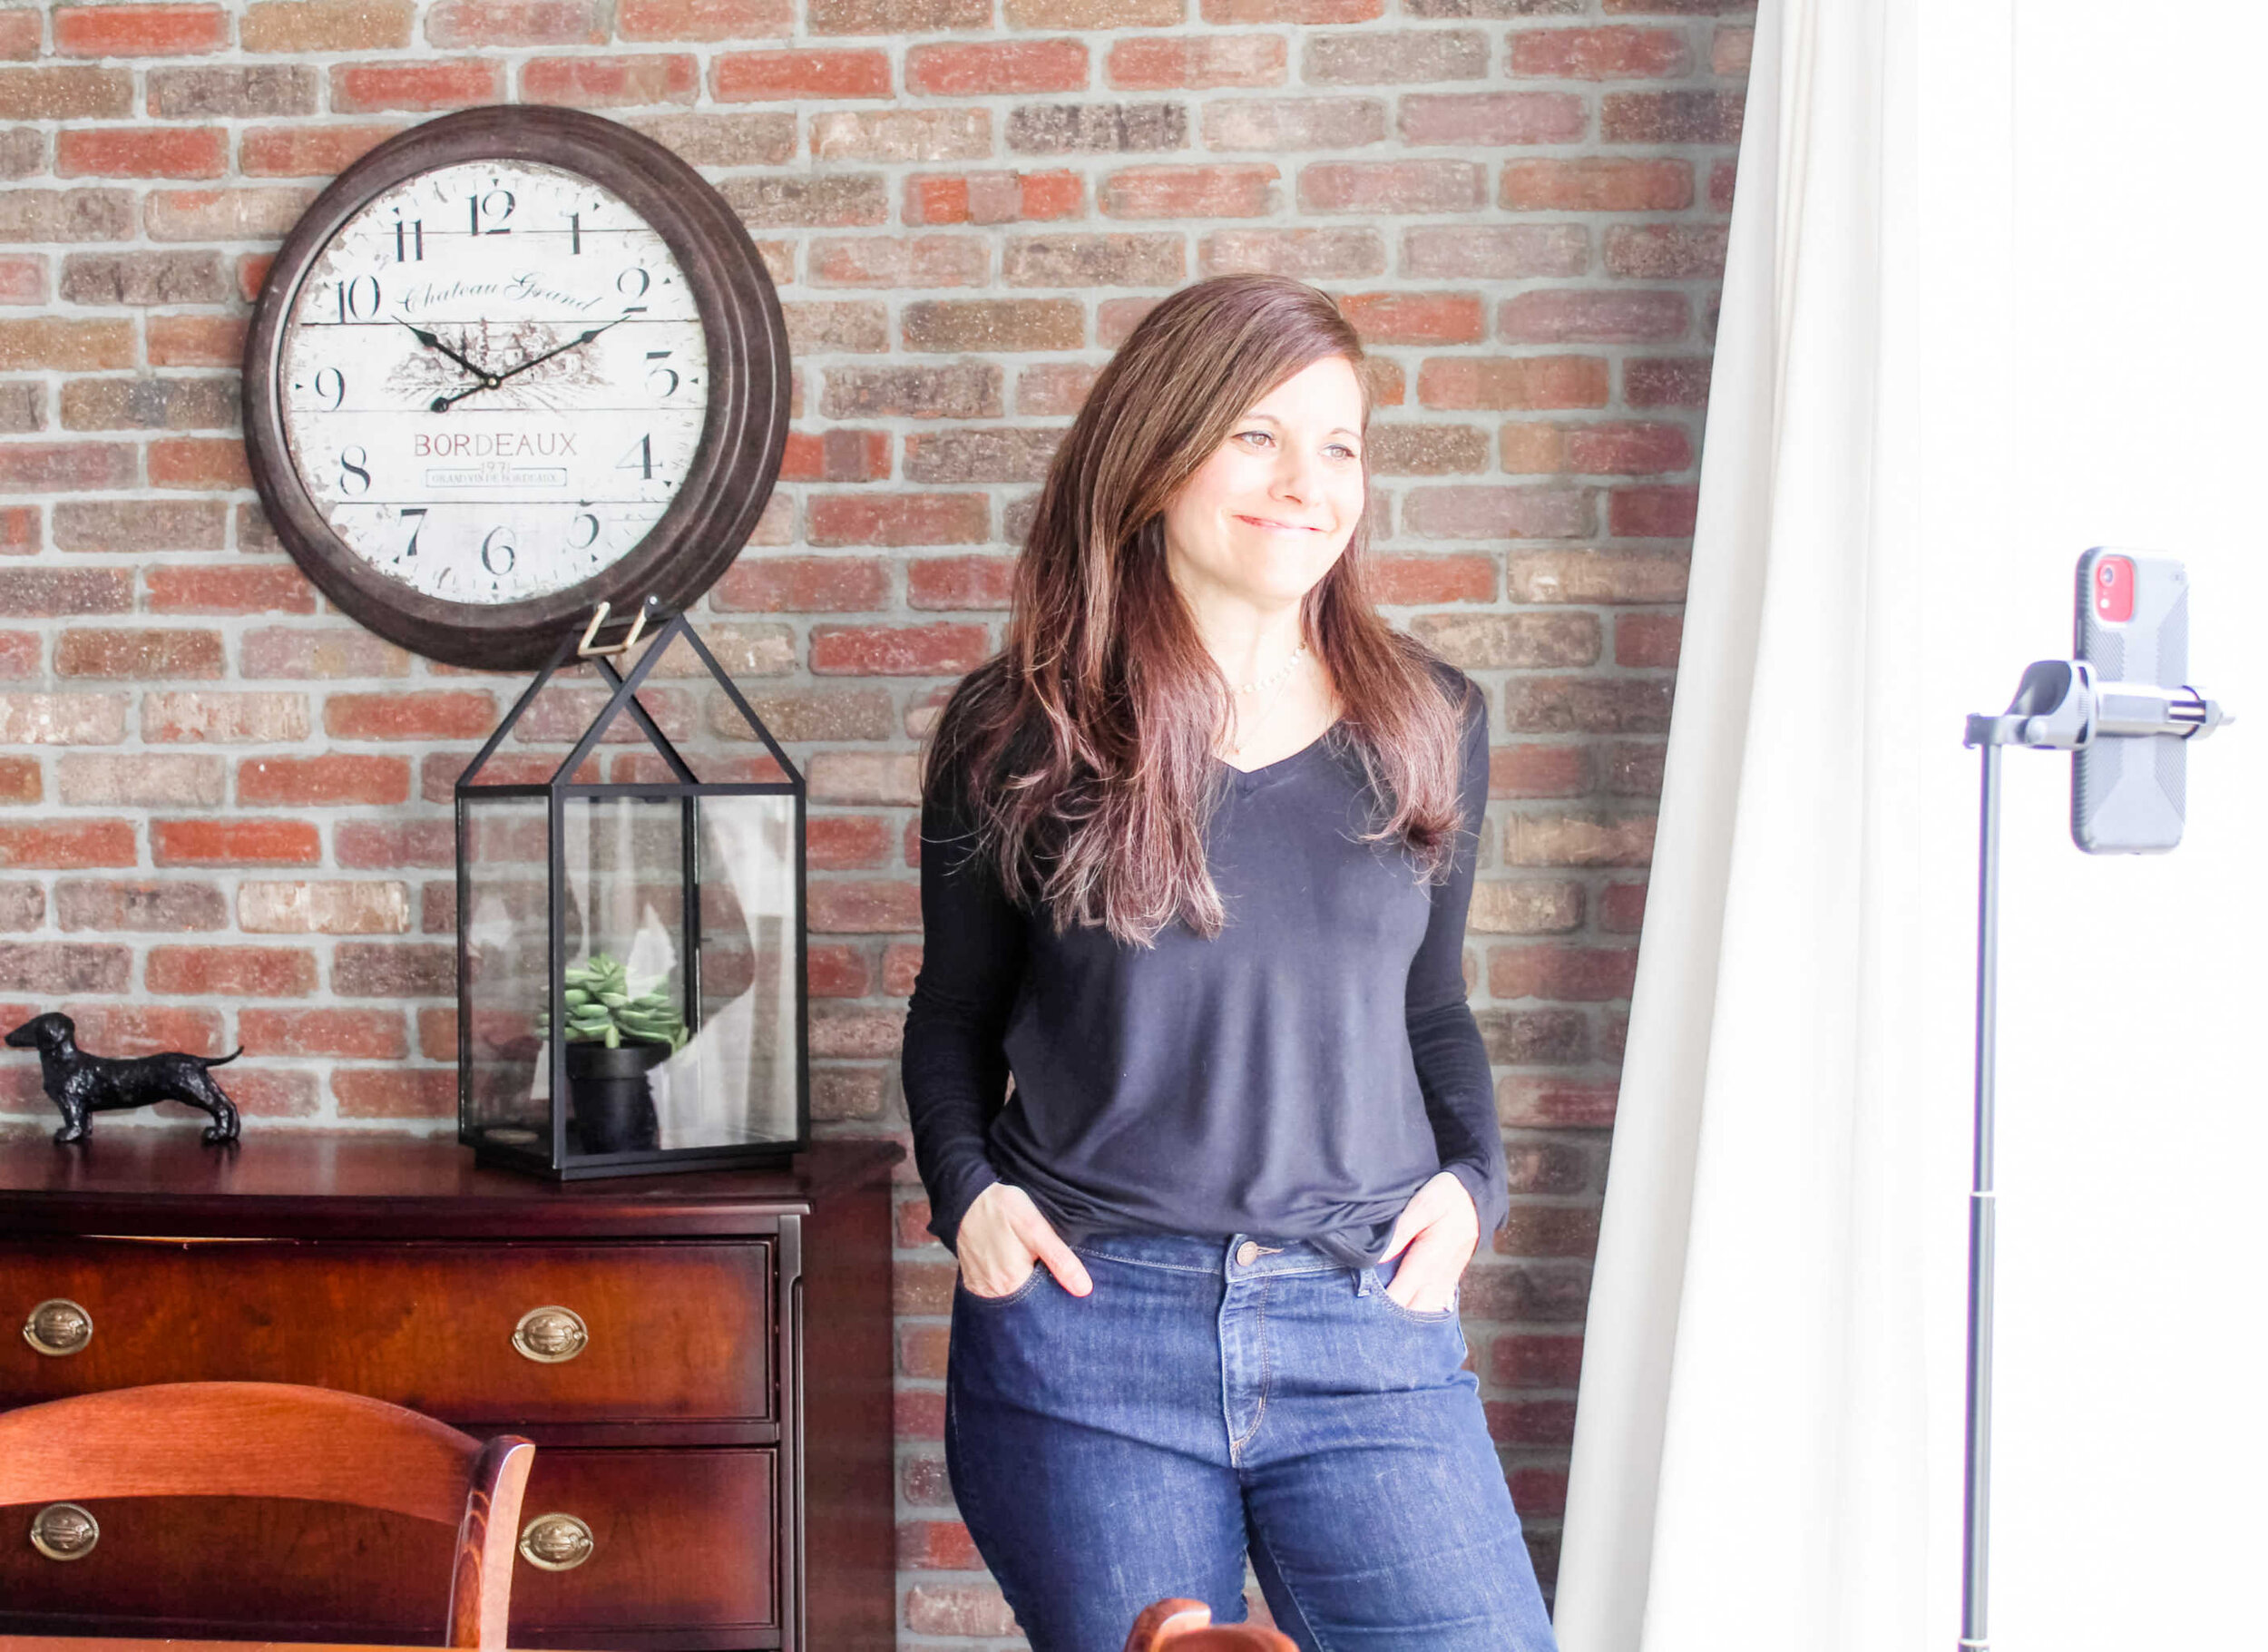
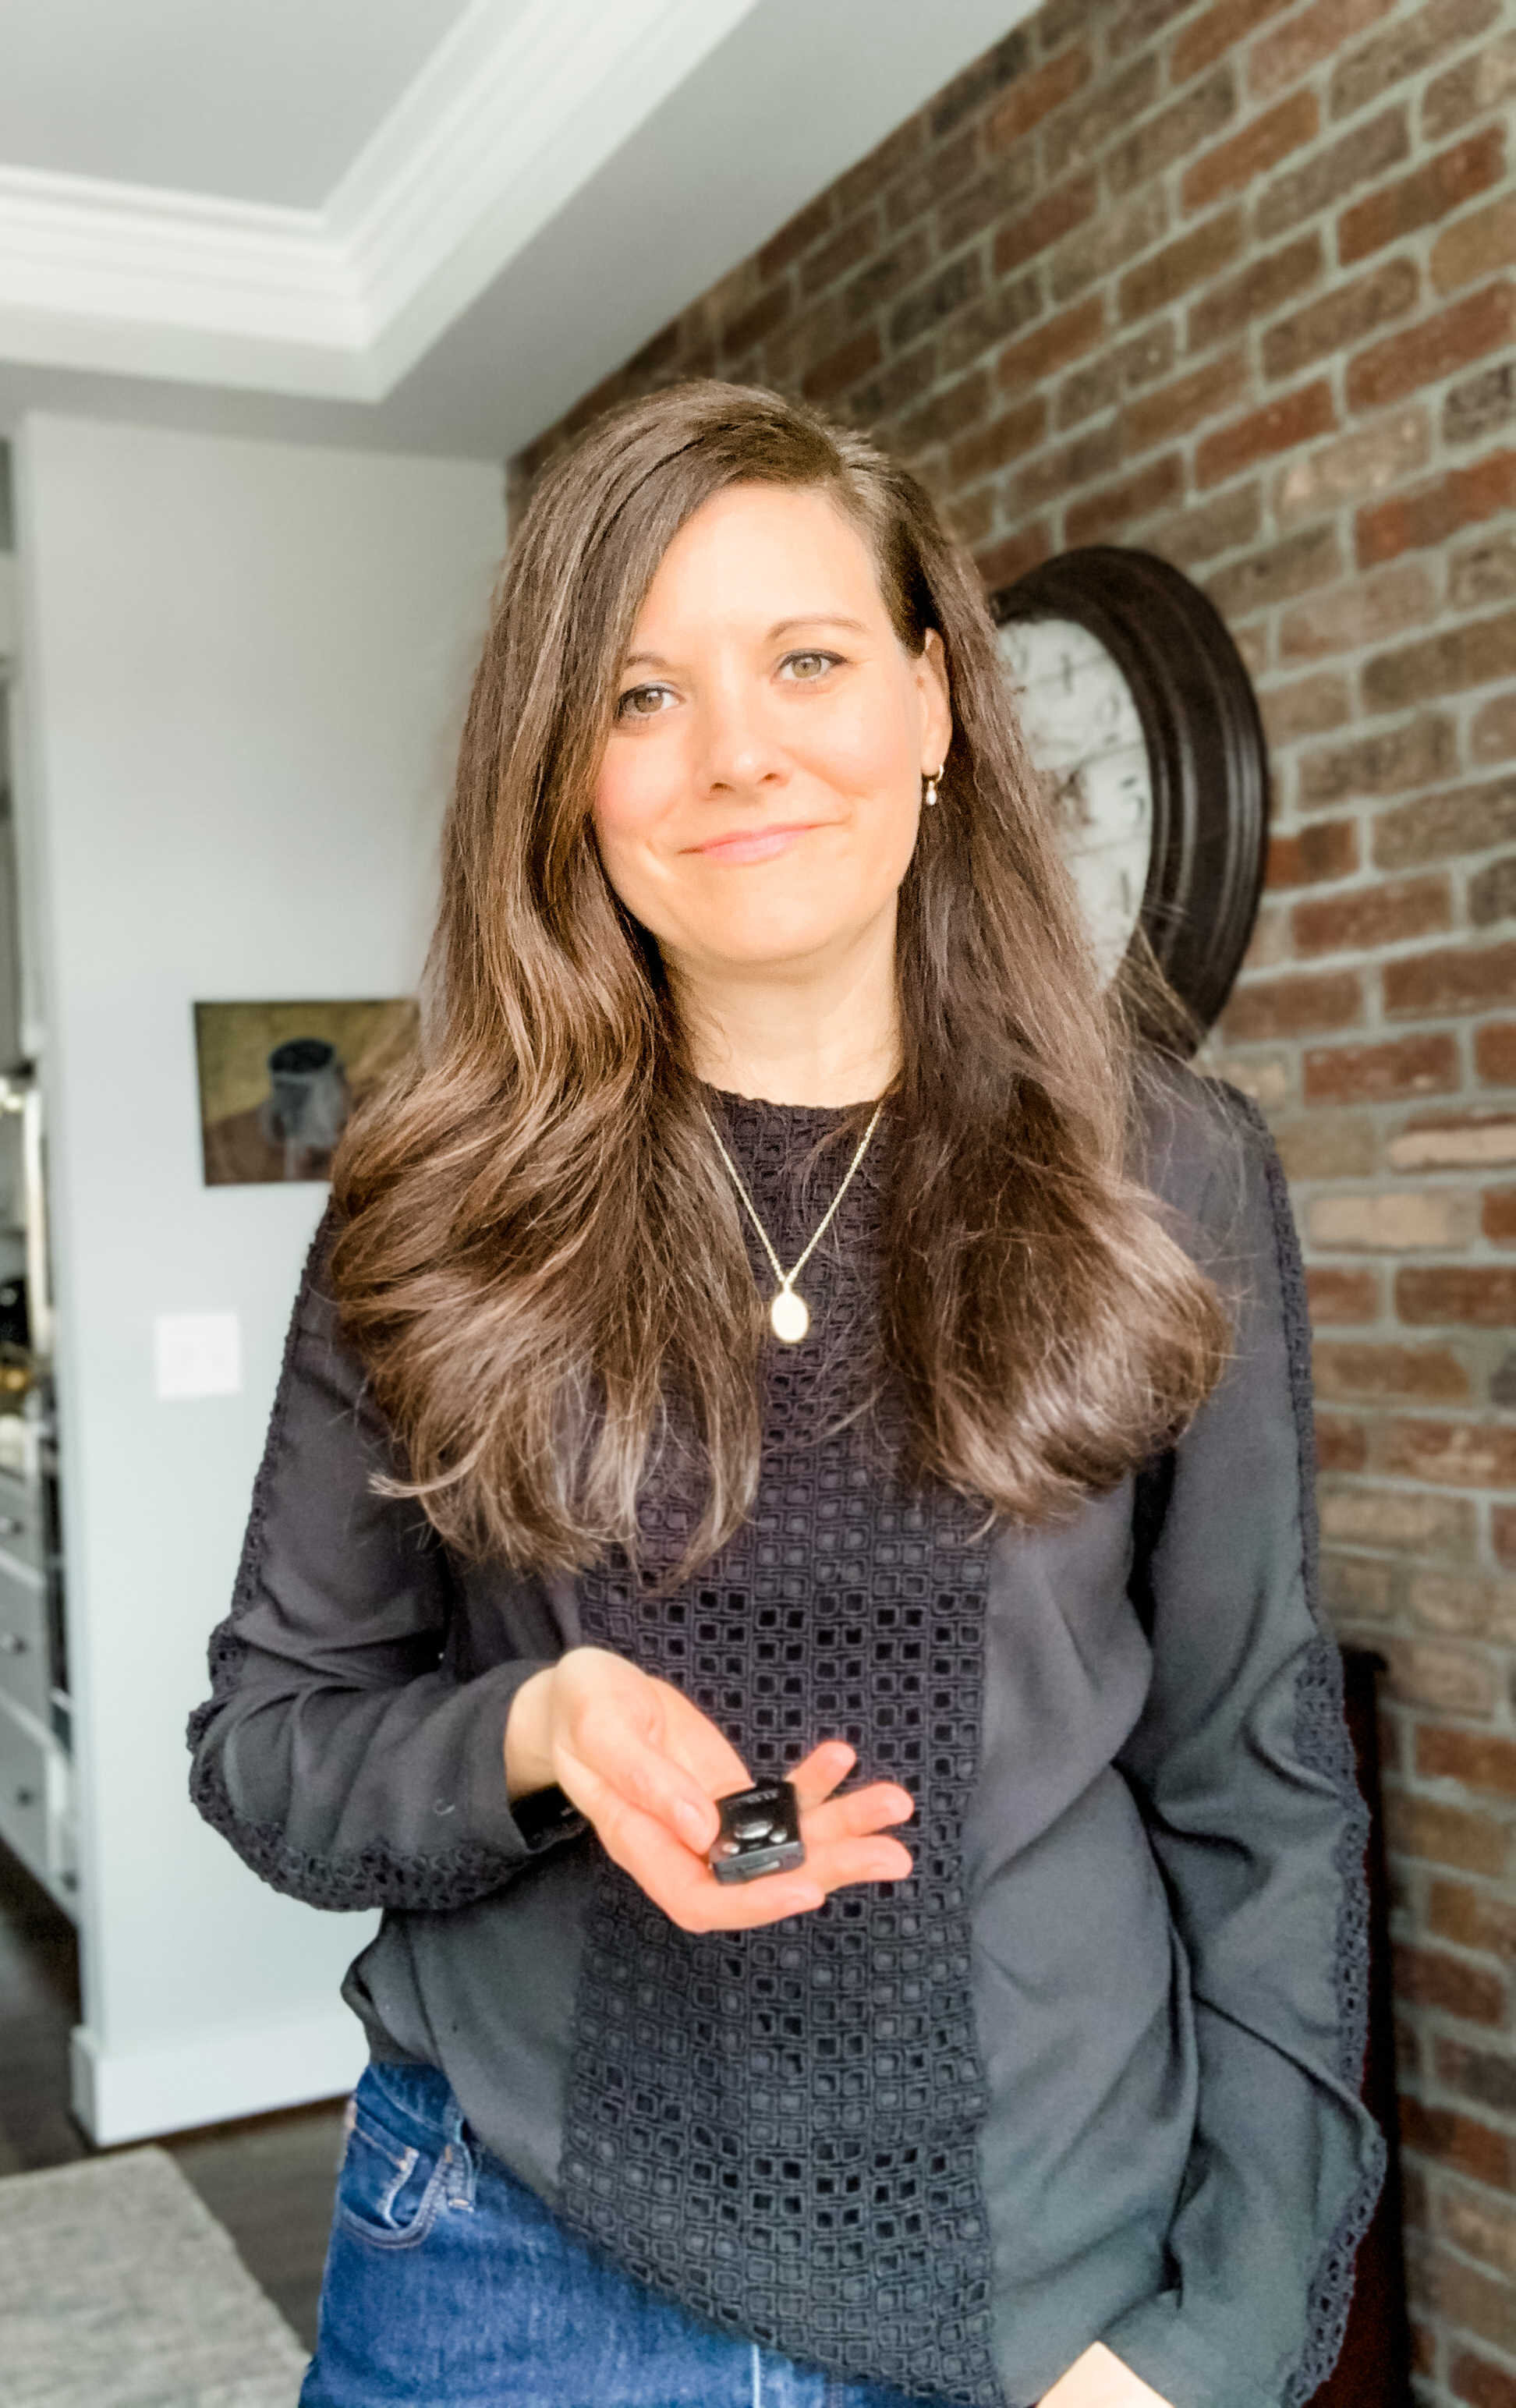
There’s one other setting to pay attention to. And it’s the rotate viewfinder or selfie mode button.

You can set the camera to capture the room in front of the phone or to take a selfie and capture you. I take every pic in this mode so I can look at myself on the screen of the camera while taking the shot. This lets me check out the background and make adjustments if there’s a light fixture sticking out of my head or a visible pileup on the kitchen counter.
Next let’s talk about the tripod I use.

The tripod: This tripod is light and easy to set up and take down. It fits phones 2.05 to 4.13 inches wide. Periodically you’ll find it on sale on Amazon for less than $20.

It comes with a Bluetooth wireless remote control, is adjustable, fits in your bag, and can stand on a tabletop or the floor.
I try to face my light source as much as possible, which means I have to be creative about where I place the tripod. For example, my living room couch backs up to windows so I face the windows and put the tripod on the couch to get the shot.
The lighting: As a new photographer, I’ve given up on trying to naturally capture light by adjusting camera settings. Filters are an easy way to make an image instantly brighter and more polished.
See what I mean? On the left is a photo I took with my DSLR camera using stand lights on a sunny day. On the right is a photo with a lighting preset filter applied after the fact.
While I love taking pictures, I just don’t have time to study about lighting right now.
So I purchased the Light and Airy Mobile Preset package. It’s advertised for $47 but you may be able to find a coupon code for 10% to 20% off.
You will need to download the free mobile Adobe Lightroom app to use them.
Follow the instructions to set them up. It unexpectedly took me about 45 minutes to install so you may need to have some patience. And look at the instructions as you go.
Once you get through the setup, you’ll have 11 different lighting presets to choose from. You can use the same preset for every picture to create a consistent look in your grid or select a different one for each picture. That’s what I tend to do. Although, for the pictures in this post, I used the “Clean” filter for each picture.
Here’s a before and after.
Filtering adds a brighter finish I can’t get any other way. So when I go to post, I feel good about what I’m putting out there.
Speaking of posting. Do you use an Instagram planning app?
Here’s what I use. And if you’re wondering how to insert paragraph breaks in your text, this app lets you do that.
An Instagram planning app
If you don’t have an Instagram planning mobile app, I recommend a free one called Plann. It lets you upload your pictures and write out your captions in advance. It creates a proxy of your grid, so if you want to see how your pictures look together you can.


I post Monday through Friday so I pull in five pictures for the week and write my captions and hashtags. You’re able to format your text with paragraph breaks so you’re not posting one giant paragraph.
Plann also has a feature for saving hashtag sets and for viewing other Instagram accounts to see their top posts and the hashtags they use.
You can also see some limited analytics and your top performing posts, which is helpful if you don’t have an Instagram business account.
While it doesn’t automatically post, you can set a reminder to receive a notification when it’s time. It connects to your account and pushes in the content so it’s easy to post.
It’s got to be easy otherwise I’ll never be consistent. And showing up regularly is a must if you want to build real connections with people.
The unexpected truth about Instagram
I was a social media skeptic. So no one was more surprised than me when Instagram began adding so much value to my life by connecting me to other highly sensitive people.
And none of that is possible without unique high quality photos.
The iPhone camera takes very good photos with no need to dump tons of time into studying photography or buying expensive equipment.
You can feel like a pro and have images you’re proud to post.
And you can get back to building the community you never knew was possible.